Our wedding site
Today, we'll be sharing how we create our wedding website and lessons learned along the way. At the end of this post, we will also share the total price to build our wedding website.

April 24, 2023
•
5 min read
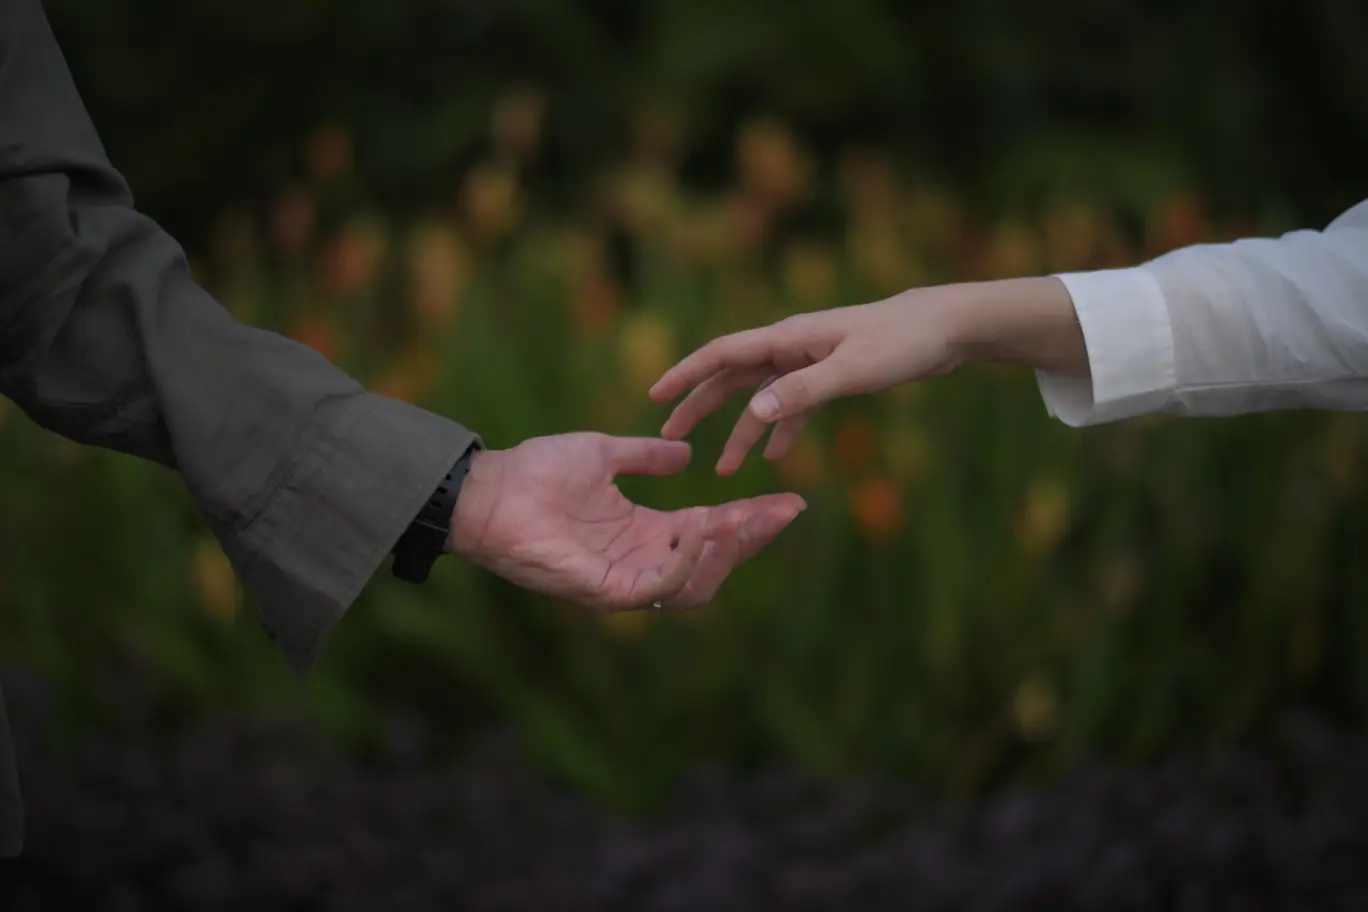
Arief and Trissa's hands - May 2022
Below is a short video of the site and you can check it at wedding.arieftrissa.com.
Before you start
Before you start, make sure all stakeholders (which is mainly you and your partner) are together on this. It’s okay if you are not sure about your role in this “website development” yet because you can learn along the way when you meet the task you need to tackle.
Our wedding website was fully developed and maintained by the groom (now the husband) since he has a background in web development. Anyway, we don’t recommend building your own if you have little to no background in web development. We suggest using third-party services that can make you a wedding website. Some wedding organizers also have this included in their packaged services.
For our site, the bride (now the wife) chose to use a ready-to-use template, called Olivia & Enrico - Wedding Template that we bought from Envato. By doing so, we shorten the development time. If you are confident with your web development and time management skills, you can start writing your web from scratch hence reducing the cost of using a paid template.
Preparing the content
As with any rule of thumb of web development, including your wedding website, content is king. For a wedding website, the contents you need to highlight are 1) the groom and the bride pictures, and 2) your wedding date and place.
We recommend you have a pre-wedding photo session first so you can use them on your website. And for your wedding date and place, make sure it is accessible and hard to miss.
Website development
Since our website is basic HTML with CSS and Javascript, there’s no fancy technology stack used here. We just use Visual Studio Code to modify the template to meet our needs. However, it’s not stopping us from improving the website further. Here are some improvements we made:
Use WebP image format
The pictures we used on the site were originally having a relatively big file size (more than 5MB). To reduce the file size we can either reduce the image size or quality but both of them result in a blurry image which is not a good experience. Thankfully, there’s a new image format called WebP that can reduce the image size without compromising image quality as much.
To start converting your .jpg or .png images to .webp, you can follow this tutorial.
Live video streaming
This is something that you cannot do by yourself and need help from others, which is a multimedia or videographer company. Thanks to our amazing wedding organizer, we managed to get a professional videographer company to record and live stream our wedding event. They will help you with the setup – the video recorder and YouTube Live Video Streaming link that you can embed on your wedding website.
Adding music and its controller
Adding music to a website is actually straightforward, but the tricky part is we cannot make it autoplay, and it’s actually a good thing! Because some users (including Arief) hate it when some websites play music without the user’s consent.
With this in mind, we built a simple button to play or pause the music we prepared.

Adding visitor comments (wishes)
To make our wedding website more interactive, we added a section where visitors can send their wishes on our website. To achieve that, we need a backend and/or a database to store these wishes. Since we don’t want to maintain a database, we decided to use Airtable as the database. Airtable provides an API so we can write to it programmatically by providing our API Key. However, we cannot simply use Airtable API from our website because everyone can see and steal our API Key. A proxy is needed here so Arief built a simple web server using Golang and deploy it on his existing DigitalOcean server alongside his other projects. Now, every wish is sent to the proxy server to be sent to Airtable.
The wishes section is still active right now and visitors can still submit their wishes. We actually can save the cost by disabling it and turning off the proxy server. But since the server is actually being used together with other projects, the cost of serving the proxy server is actually marginal. That’s the reason we keep the wish section on.
Domain and hosting
We bought the domain arieftrissa.com from Google Domains. This includes 100 subdomains that we used for wedding.arieftrissa.com.
Fyi, Arief have bought the domain shortly after he met Trissa for the first time.
For hosting and serving the site, we are using Cloudflare Pages and connecting it to our GitHub repository where the source code resides. This integration is automatic and for every commit in the repository, Cloudflare Pages will deploy a new version of the website.
Total price
- Website template: $27
- Development: Free
- Live video streaming: $87
- Server: $12 per year – shared with other projects
- Domain: $11 per year
- Hosting: Free
- Total: $137 for the first year. $23 for next year.
Conclusion
Developing our own wedding website is a good and rewarding experience for both of us and has given us confidence for our next project – which is this blog post you are currently reading! As we worked on our wedding website, we discovered that we enjoyed collaborating and creating together. Even though the price seems expensive, the end result outweighs the price and for us, it’s worth all the time and resources to have our own wedding website to immortalize one of our happiest days.